
DIY Homemade Hair Mask - Eggs Ahoy!

This one's for the broken-hearted, mostly because they're hair is dead. Okay, well, not dead, but seriously malnourished, or thinned out, dry, and to the point of breakage and excessive hair-fall.
I'm sure that this isn't the first hair mask you're coming across that's got eggs involved, because there are a ton out there, and well, it makes sense the eggs are the number one best ingredient to use in your hair, since they individually carry enough nutrients to produce a whole living being. But this is one where we're going to be using not only eggs, but also two other beautiful and highly acclaimed ingredients to create a hair mask for you!
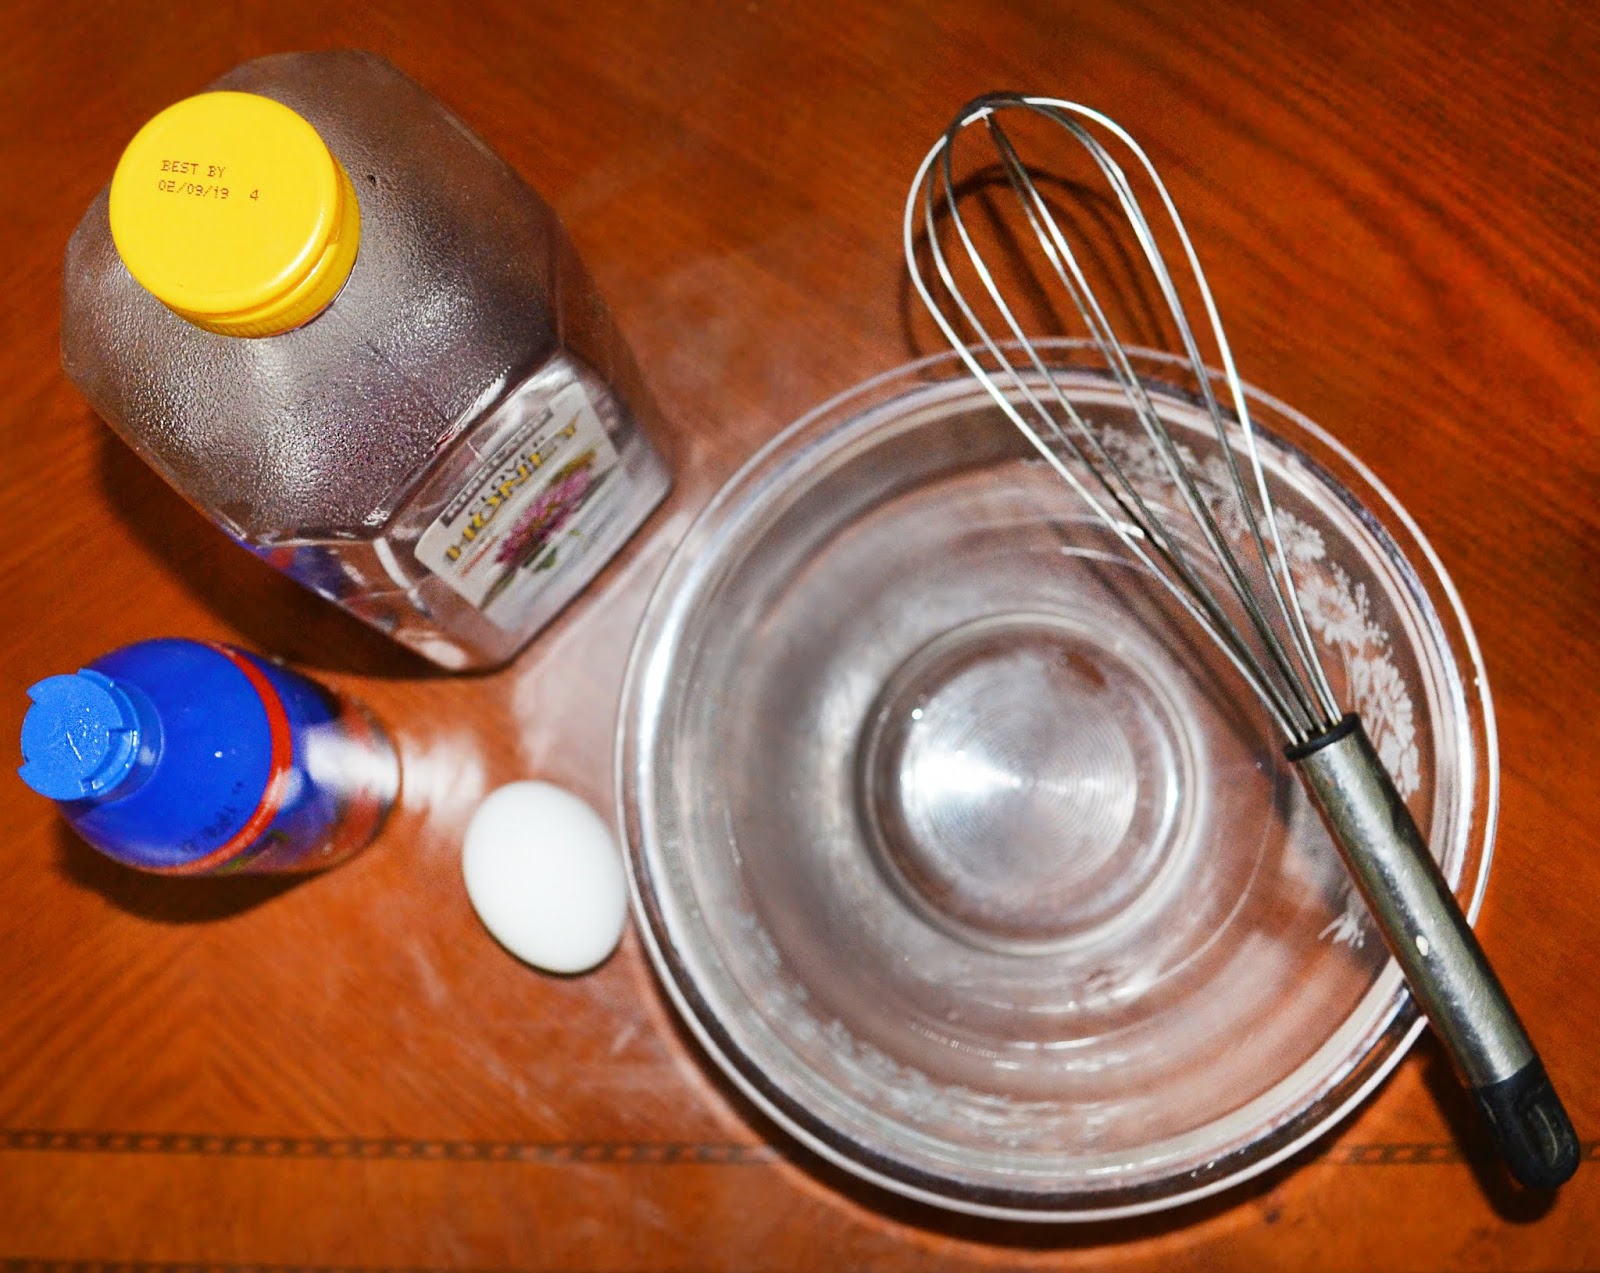
So basically, these are the ingredients you're going to have at the ready in order to whip up this gorgeous mixture for your roots:
- 1 Egg (2 eggs if your hair is till your waist)
- 2 Tbsps Coconut Oil
- 1 Tbsp Natural Honey
- Bowl (obviously, to mix them)
- A fork or whisker (for best blending purposes, of course ;))
Now, the quantities mentioned above according to what I use on my hair, at it comes about 2 inches past my shoulders and is generally frizzy and a little on the thinner side. You can change it up a little, depending on what kind of mixture and consistency you'd like. Add more coconut oil if you'd like, but the reason I don't do this is because the mask becomes overly runny and its difficult at the time of application. If you've got someone else applying the mask for you in an area that can afford to get a little messy - say, like the restroom - then sure, go ahead with an extra table spoon of coconut oil.
If you do not have coconut oil, you could always add olive oil instead. The end is basically just going to be a consistency that you're comfortable with, with the egg - both the whites and the yolks - as the main ingredient. And then all you have to do is whisk away! Make sure you do this part right, or the pungent odour is going to be unbearable.
Once you have your mixture all ready, apply and massage gently into your scalp. Make sure you really get into those roots! But also take care not to neglect your hair tips - they're the most undernourished part of the hair and most prone to damage, as I'm sure we've all experienced. So yeah, the entire scalp plus hair tips, just soak them in the mask.

As soon as you're done applying the mixture, rummage around the place for a shower cap to cover all your hair into a bun so the mixture sets faster and is more effective. My problem is, I'm as lazy as they come, so sometimes I just braid my hair, and that's fine too. But a layer around your hair helps, like I said earlier, in speeding up the process, and making it a better mask overall. If you don't have a shower cap, two or three bouts of plastic cling-wrap will do.
Waiting time: 30 minutes - 1 hour, depending on how long you have time. Make sure that you don't leave it for too long, this isn't just oil. A crucial point to take when you're finally ready to shower is that you don't mind the cold - do not use hot water to wash the egg away, or - I kid you NOT - it will literally cook on your head. I'm not kidding, it will! Google this if you don't believe me, but its the truth. Always use cold water in the shower when you're washing away the mask, and you can slowly switch to lukewarm water later once you've gotten most of the mask out.
Use a light shampoo to finish the job; I usually don't require conditioner, but if you're going the extra step, that's fine, but don't worry if you don't have time, because the mask sort of does the whole conditioner work for us.
And viola, you're done! I'd recommend adding on a little bit of essential oils in your hair after the shower if it has a tendency to become frizzy. And that's about it for this post. Let me know if you have any questions in the comments below!

0 comments